kenmore mini ultra sewing machine manual
The Kenmore Mini Ultra Sewing Machine manual is a comprehensive guide for optimal performance, covering setup, threading, and maintenance. It provides detailed instructions for users of all skill levels, ensuring smooth operation and troubleshooting. The manual also includes tips for accessories and advanced features, making it an essential resource for owners. Download the PDF version for easy access to all the information you need to get the most out of your machine.
Overview of the Kenmore Mini Ultra Sewing Machine
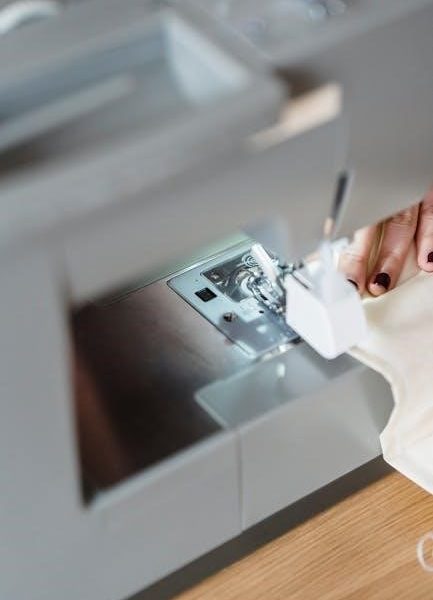
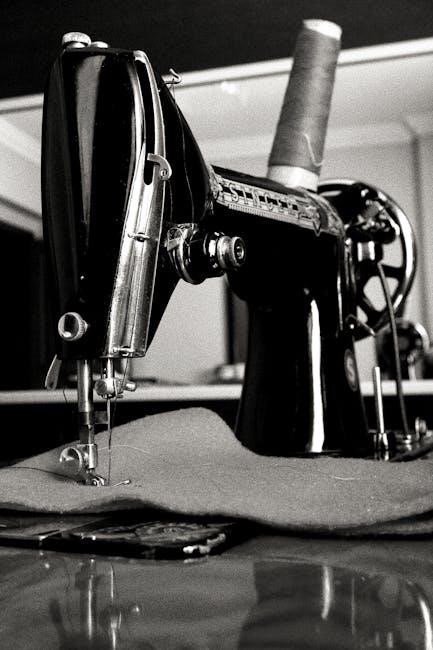
The Kenmore Mini Ultra Sewing Machine is a lightweight, portable, and user-friendly sewing machine designed for both beginners and experienced sewists. It offers essential features for versatile sewing, including multiple stitch options, a free-arm design, and easy thread management. Its compact size makes it ideal for small projects, while its durability ensures reliable performance. Perfect for home use, it balances simplicity and functionality for a seamless sewing experience.
Importance of the Manual for Optimal Performance
The manual is crucial for unlocking the full potential of the Kenmore Mini Ultra Sewing Machine. It provides step-by-step instructions for setup, operation, and maintenance, ensuring users can troubleshoot common issues and customize settings. With detailed guidance on threading, bobbin winding, and stitch selection, the manual helps users achieve professional results and prolong the machine’s lifespan. Regular reference to the manual guarantees efficient and enjoyable sewing experiences.

Setting Up Your Kenmore Mini Ultra Sewing Machine
Proper setup ensures smooth operation. Unbox and place the machine on a sturdy surface or install it in a Kenmore cabinet for stability and convenience.
Unpacking and Initial Setup
Begin by carefully unpacking the Kenmore Mini Ultra Sewing Machine. Place it on a sturdy, flat surface or install it in a Kenmore cabinet for optimal stability. Ensure all accessories, such as the power cord, bobbins, and needles, are accounted for. Familiarize yourself with the machine’s parts using the manual’s illustrations. Before use, check for any damage and ensure all components are securely in place.
Placing the Machine on a Sturdy Surface or Cabinet
Position the Kenmore Mini Ultra Sewing Machine on a sturdy, flat surface to ensure stability. For enhanced support, install it in a Kenmore cabinet or case, which minimizes vibrations and provides a dedicated workspace. Ensure the surface is level to prevent machine movement during operation. Proper placement is crucial for smooth stitching and consistent performance. Always follow the manual’s guidelines for ideal setup.
Installing the Machine in a Kenmore Cabinet or Case
Insert the Kenmore Mini Ultra Sewing Machine into the cabinet or case, aligning the pre-drilled holes. Secure it using the provided screws to ensure stability. This setup reduces vibrations and provides a dedicated sewing area. Proper installation enhances machine performance and accessibility, ensuring a smoother sewing experience. Always refer to the manual for specific alignment and tightening instructions to avoid damage.
Threading and Bobbin Winding
Threading and bobbin winding are essential steps for smooth machine operation. Follow the manual’s step-by-step guide to ensure proper thread flow and consistent stitching quality, avoiding common issues.
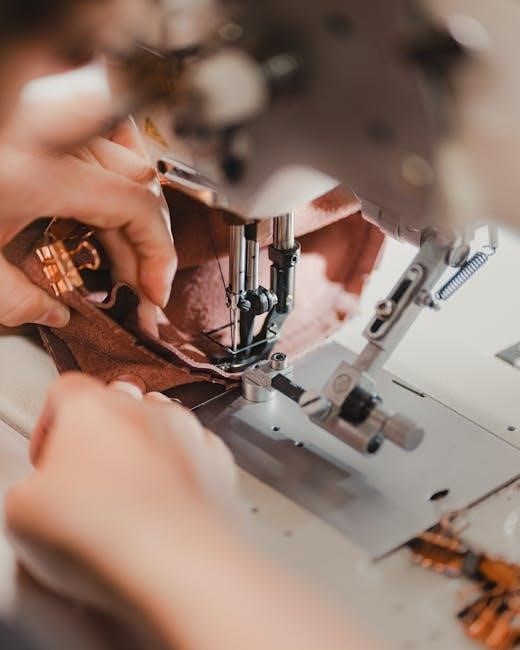
Step-by-Step Guide to Threading the Machine
Locate the spool pin and draw thread through the machine’s tension discs. 2. Guide the thread through the take-up lever and needle bar. 3. Insert the thread into the needle eye. 4. Follow the manual’s diagram for correct threading order. 5. Ensure the bobbin is properly seated and thread is evenly wound. Proper threading ensures smooth stitching and prevents thread breakage or uneven tension.
Proper Bobbin Winding Techniques
Place the thread on the spool pin and pull it through the tension guide. 2. Wind the thread around the bobbin evenly, leaving a small tail. 3. Cut the excess thread and insert the bobbin into the machine. 4. Ensure the thread is seated properly in the bobbin case. 5. Refer to the manual’s diagram for correct bobbin winding alignment. Proper winding ensures smooth stitching and prevents thread tangling or uneven tension.
Adjusting Thread Tension
Adjust thread tension by turning the dial to ensure proper stitch formation. Use the manual’s guide to set tension based on fabric type and thickness for optimal results.
Understanding Thread Tension Basics
Thread tension is crucial for consistent stitching. Proper tension ensures fabric lies flat, preventing puckering or loose threads. The Kenmore Mini Ultra manual explains how to identify and adjust tension using the machine’s dial, balancing upper and lower thread settings for various fabrics, from delicate materials to heavier textiles, ensuring professional-grade results every time you sew.
How to Adjust Tension for Different Fabrics
The Kenmore Mini Ultra manual guides users to adjust thread tension based on fabric type. For lightweight materials like silk or cotton, reduce tension to prevent puckering. For heavier fabrics such as denim or canvas, increase tension to ensure tight stitches. Use the machine’s tension dial to fine-tune settings, ensuring balanced thread flow for smooth, professional results across various textiles.
Stitch Selection and Usage
The Kenmore Mini Ultra offers versatile stitches for various sewing tasks, including straight, zigzag, and decorative options. Choose the right stitch for fabrics like cotton, denim, or silk to ensure professional results. The machine’s stitch selector allows easy switching between modes, making it ideal for both basic repairs and creative projects. Follow the manual for optimal stitch settings.
Available Stitches on the Kenmore Mini Ultra
The Kenmore Mini Ultra Sewing Machine features a variety of stitches, including straight stitch, zigzag, and decorative options. These stitches cater to different fabrics and sewing needs, from basic repairs to intricate designs. The machine also includes loop stitches for stretchy materials, ensuring versatility for various projects. Refer to the manual for a detailed list of stitches and their applications.
Decorative Stitches and Zigzag Functions
The Kenmore Mini Ultra Sewing Machine offers decorative stitches for embellishing fabrics and zigzag functions for stretchy materials. These features allow for creative sewing projects, from appliqué to elastic seams. The zigzag stitch is adjustable in width and length, while decorative stitches add a personal touch to garments and home decor. This versatility makes the machine ideal for both practical and artistic sewing tasks.
Maintenance and Cleaning
Regular cleaning and lubrication ensure optimal performance. Remove lint, oil moving parts, and deep clean periodically to maintain your Kenmore Mini Ultra Sewing Machine’s efficiency and longevity.
Routine Cleaning and Lubrication
Regular cleaning involves removing lint from the bobbin area and feed dogs. Lubricate moving parts with sewing machine oil to ensure smooth operation. Turn off the machine, then gently brush away debris. Apply a few drops of oil to the handwheel and shuttle hook. Repeat every 10 hours of use for optimal performance and longevity of your Kenmore Mini Ultra Sewing Machine.
Deep Cleaning the Machine
For deep cleaning, remove the stitch plate and bobbin case. Use a small brush or compressed air to eliminate lint and debris from internal areas. Gently wipe the shuttle hook and feed dogs with a cotton swab. Avoid harsh chemicals; use a dry cloth to clean exterior surfaces. Regular deep cleaning prevents dust buildup and ensures consistent stitching performance on your Kenmore Mini Ultra Sewing Machine.
Troubleshooting Common Issues
Frequent thread breakage or skipped stitches? Check tension settings and ensure proper threading. Consult the manual for solutions to resolve these issues effectively and maintain performance.
Identifying and Resolving Thread Breakage
Experiencing thread breakage? Check for improper tension, incorrect threading, or fabric issues. Adjust tension, rethread the machine, and use the right needle size; Ensure fabric is aligned and not too thick. Consult the manual for step-by-step troubleshooting to resolve the issue efficiently and maintain smooth sewing operations.
Fixing Tension Imbalance and Skipped Stitches
Experiencing tension imbalance or skipped stitches? Check for incorrect tension settings or using the wrong needle size. Adjust the tension, rethread the machine, and ensure the needle is suitable for the fabric. If issues persist, consult the manual for detailed troubleshooting steps to restore proper stitching and maintain your machine’s performance.
Accessories and Optional Features
The Kenmore Mini Ultra Sewing Machine comes with essential accessories like bobbins, needles, and presser feet. Optional attachments, such as zipper or embroidery feet, enhance functionality. Explore the manual or Sears Parts Direct for more details on available accessories to customize your sewing experience.
Essential Accessories for the Kenmore Mini Ultra
The Kenmore Mini Ultra Sewing Machine includes essential accessories like bobbins, needles, and presser feet. These tools are vital for threading, stitching, and handling various fabrics. Additional accessories, such as zipper feet or embroidery hoops, can be purchased separately to enhance your sewing experience. Refer to the manual or Sears Parts Direct for a detailed list of compatible accessories and where to find them.
Optional Attachments for Enhanced Functionality
Optional attachments for the Kenmore Mini Ultra Sewing Machine include a zipper foot for precise zipper installation and an embroidery hoop for decorative stitching. These accessories expand the machine’s capabilities, allowing for specialized tasks like heavy-duty sewing or intricate designs. Refer to the manual or Sears Parts Direct for a list of compatible attachments and how to install them for enhanced creativity and efficiency.
Downloading and Referencing the Manual
Download the Kenmore Mini Ultra Sewing Machine manual from Sears Parts Direct or the official Kenmore website. This comprehensive guide provides detailed instructions for setup, troubleshooting, and maintenance, ensuring optimal performance and ease of use.
How to Download the Kenmore Mini Ultra Manual
To download the Kenmore Mini Ultra manual, visit the official Kenmore website or Sears Parts Direct. Enter your model number, such as 385.11206300, in the search bar. Select the appropriate manual from the results and follow the prompts to download the PDF. This ensures you have access to detailed instructions for setup, troubleshooting, and maintenance, optimizing your sewing experience.
Navigating the Manual for Specific Instructions
The Kenmore Mini Ultra manual is organized to help users quickly find specific instructions. Use the table of contents or index to locate topics like threading, bobbin winding, or troubleshooting. Digital versions allow keyword searches for faster access. Each section is clearly labeled, ensuring easy navigation. Whether you’re setting up the machine or adjusting stitches, the manual’s logical structure makes it user-friendly and efficient for all skill levels.
Leave a Reply
You must be logged in to post a comment.